DNSCrypt is a network protocol that authenticates and encrypts Domain Name System (DNS) traffic between the user’s computer and recursive name servers. It was originally designed by Frank Denis and Yecheng Fu. Although multiple client and server implementations exist, the protocol was never proposed to the Internet Engineering Task Force (IETF) by the way of a Request for Comments (RFC). DNSCrypt wraps unmodified DNS traffic between a client and a DNS resolver in a cryptographic construction in order to detect forgery. Though it doesn’t provide end-to-end security, it protects the local network against man-in-the-middle attacks. It also mitigates UDP-based amplification attacks by requiring a question to be at least as large as the corresponding response. Thus, DNSCrypt helps to prevent DNS amplification attacks.
NextDNS is a fairly new DNS service that came into existence in May 2019. The founders of the service come from a background in managing Internet infrastructure. One of them in fact launched the popular video sharing site Dailymotion and currently works as Director of Engineering at Netflix. The founders of the service are stern supporters of net neutrality and privacy and launched NextDNS as a privacy-oriented and feature-rich alternative to the unencrypted DNS resolvers operated by ISPs.
Pi-hole is a Linux network-level advertisement and Internet tracker blocking application which acts as a DNS sinkhole and optionally a DHCP server, intended for use on a private network. It is designed for use on embedded devices with network capability, such as the Raspberry Pi, but it can be used on other machines running Linux, including cloud implementations. Pi-hole has the ability to block traditional website advertisements as well as advertisements in unconventional places, such as smart TVs and mobile operating system advertisements
This is going to assume you already have PiHole up and running on Ubuntu and signed up for a NextDNS account.
sudo apt install dnscrypt-proxyAfter the install finishes it will register the service and try to start but fail since PiHole is already running on port 53.
Next edit the /lib/systemd/system/dnscrypt-proxy.socket file.
Change ListenStream and ListenDatagram to:
ListenStream=127.0.0.1:54
ListenDatagram=127.0.0.1:54
Save File.
Now in your NextDNS account goto the Setup tab, go down to the Setup Guide, click on routers, scroll down to DNSCrypt and copy the code.
Next edit the /etc/dnscrypt-proxy/dnscrypt-proxy.toml file. Paste the setup code into config file.

Save the dnscrypt-proxy.toml file, then restart the service and check it’s status.
sudo systemctl restart dnscrypt-proxy
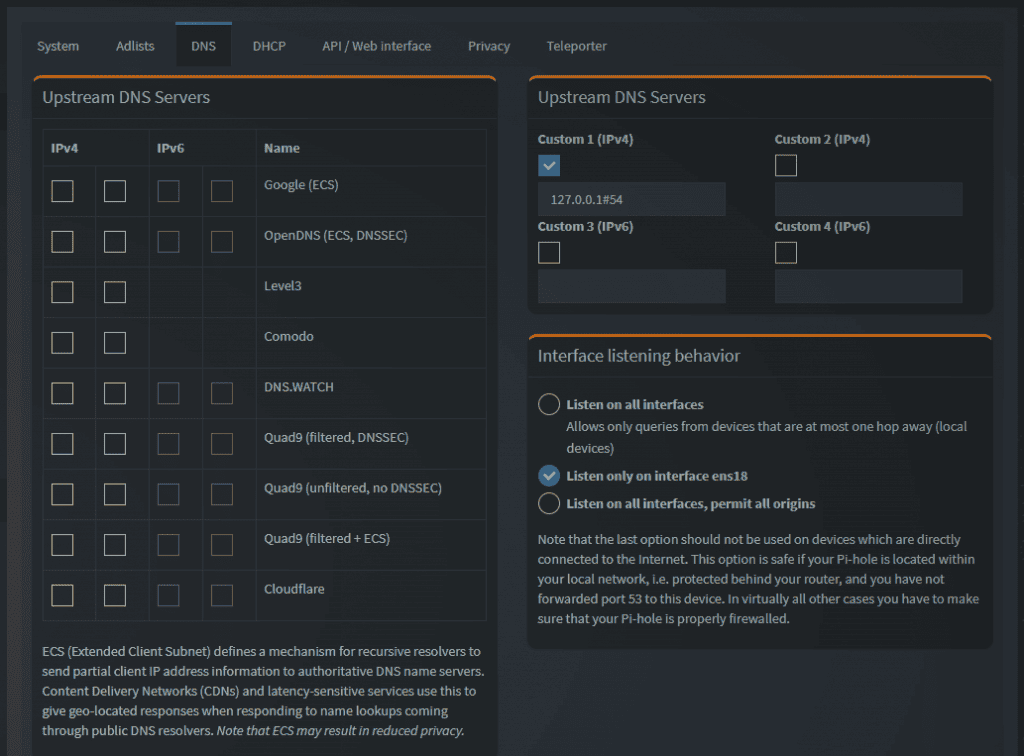
sudo systemctl status dnscrypt-proxyNext go into the PiHole’s Settings, then click on the DNS tab. Remove any upstream DNS servers, and enable custom, enter in:
127.0.0.1#54
Click save.
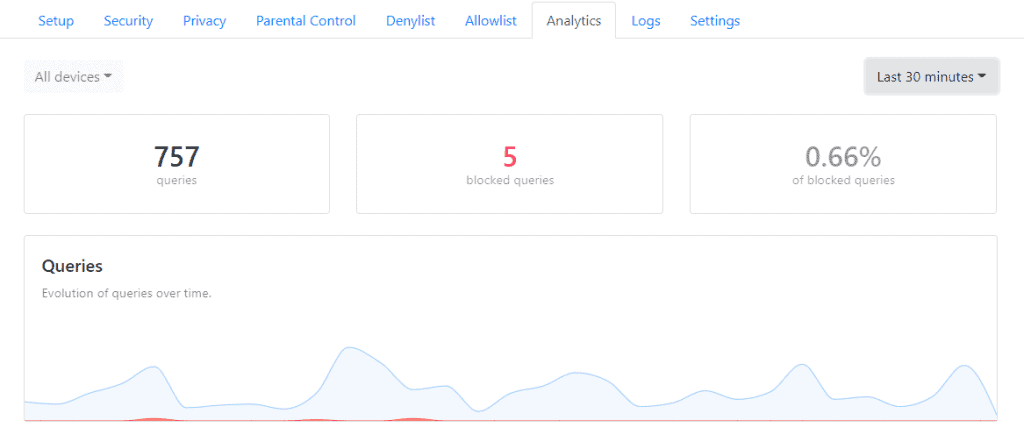
If everything is working as excepted, you should start seeing logs and queries show up in the NextDNS dashboard.